Tuesday, January 21, 2014

Winter Wallpaper from Kiran Ravilious

Here is a picture of my downstairs bathroom, or loo, depending on where you're reading this. I know its not very nice to look at, but it's sort of a metaphor for what January is feeling like for me right about now. Stripped down, bare, cold and needing some color.

I'm not usually one for wallpaper. It's too much of a commitment, and I'm too afraid of getting it wrong. Luckily, I recently happened upon the beautiful textile designs of Kiran Ravilious. She's a local(ish) artist, based in Leicester, where she prints fabrics and wallpaper by hand from her own linocut designs. Hooray for supporting local and handmade artisans, plus, Kiran's aesthetic is right up my alley. 
This blue and green trumpet leaf design is what's going in the bathroom once it arrives. Each roll is printed to order, so I have to look at that horrible bathroom for a few weeks longer, but I think it'll be worth the wait. Here are a few more of her prints that I love:
These black nettles are so bold, but I loved the green and blue leaves the best.
I also considered this Pastle Rowan print, but it was a little too softly, softly. 
Kiran also prints on lampshades...
...and cushions. 
And I LOVE this tulip print, shown here on a notebook. I would've gotten this for the wallpaper if it had been on offer. 

Kiran also blogs here, and I just started following her beautiful Pinterest boards, which are here. I'll post another image of that bathroom once the paper is up. I bet you won't recognize it!

All images courtesy of and copyrighted to Kiran Ravilious.


Tuesday, January 14, 2014

Project Roundup: Crafting with Duct Tape

Recently, I took Jake and Charlie on a trip back to America to visit family. While we were packing, Jake decided to put some of his pocket money into a seldom used wallet to bring along. Charlie wanted one too, immediately prompting the phrase so often heard around here: "No problem, we can make you one!"

I have long been aware that duct tape crafting is a huge thing, though we'd never really gotten around to trying it ourselves. Online instructions abound, but I followed the steps for the wallet above using my beloved Martha Stewart Crafts for Kids book.
We only had the standard silver duct tape lying around to make Charlie's wallet, but while in America I stopped by a Staples and bought up their stock of cool patterned tape-its cheaper there than in England. Jake immediately ran home and covered his backpack with camo tape. I'll have to take a picture of it when he gets home from school.

Since then, I've gone online and looked around for more duct tape crafting instructions. So many of them seem geared towards girls, but the following projects all appeal to us (and to girls, too, I hope!) We'll be trying some of these out in the coming weeks and posting results to my Facebook page (also called Crafting a Beautiful Life), so check back for those and do share your own, too.
These amazing tape over cardboard sleds come from Artzycreations. Wish I'd known about them before our trip to America where that recent polar vortex gave the boys a rare chance to go sledding.

I recently posted about the virtues of crafting with cardboard, and these simple but very beautiful cardboard houses from Pink Sugarland are right up our alley.

Another craft I wished I'd thought about before our trip was this very portable game of checkers, instructions for which came from the Parents website.

This is another upcycled cardboard craft (it also utilizes plastic jugs for the handles on the back) that would get a lot of mileage in my house. It's intended as a Viking history project, and comes from a cool and crafty mom at Deceptively Educational.

And lastly, a quick and easy project with an endless possibility for customization are these arm and wrist bands from Sarah at Frugal Fun For Boys.

Have any other amazing duct tape projects you want to share? Leave a link to yours in the comments section below. Happy crafting. 

Tuesday, December 17, 2013

Hand Sewn Tea Bags

Spare time has been scarce around here lately, as my kids have been out of school since last week. But this morning I had a sitter for a couple of hours, so I snuck into my shed to see what I could make for a few of the grownups whose names are not yet checked off of my Christmas list. 
I dug out this bag of chamomile flowers that I picked in June, which I'd dried out and stored in a jar. I decided to make some tea bags for my mother in law, and I popped them into this pretty tin that I picked up at a garden center a few months back. Want to make some, too? Here's how you do it:
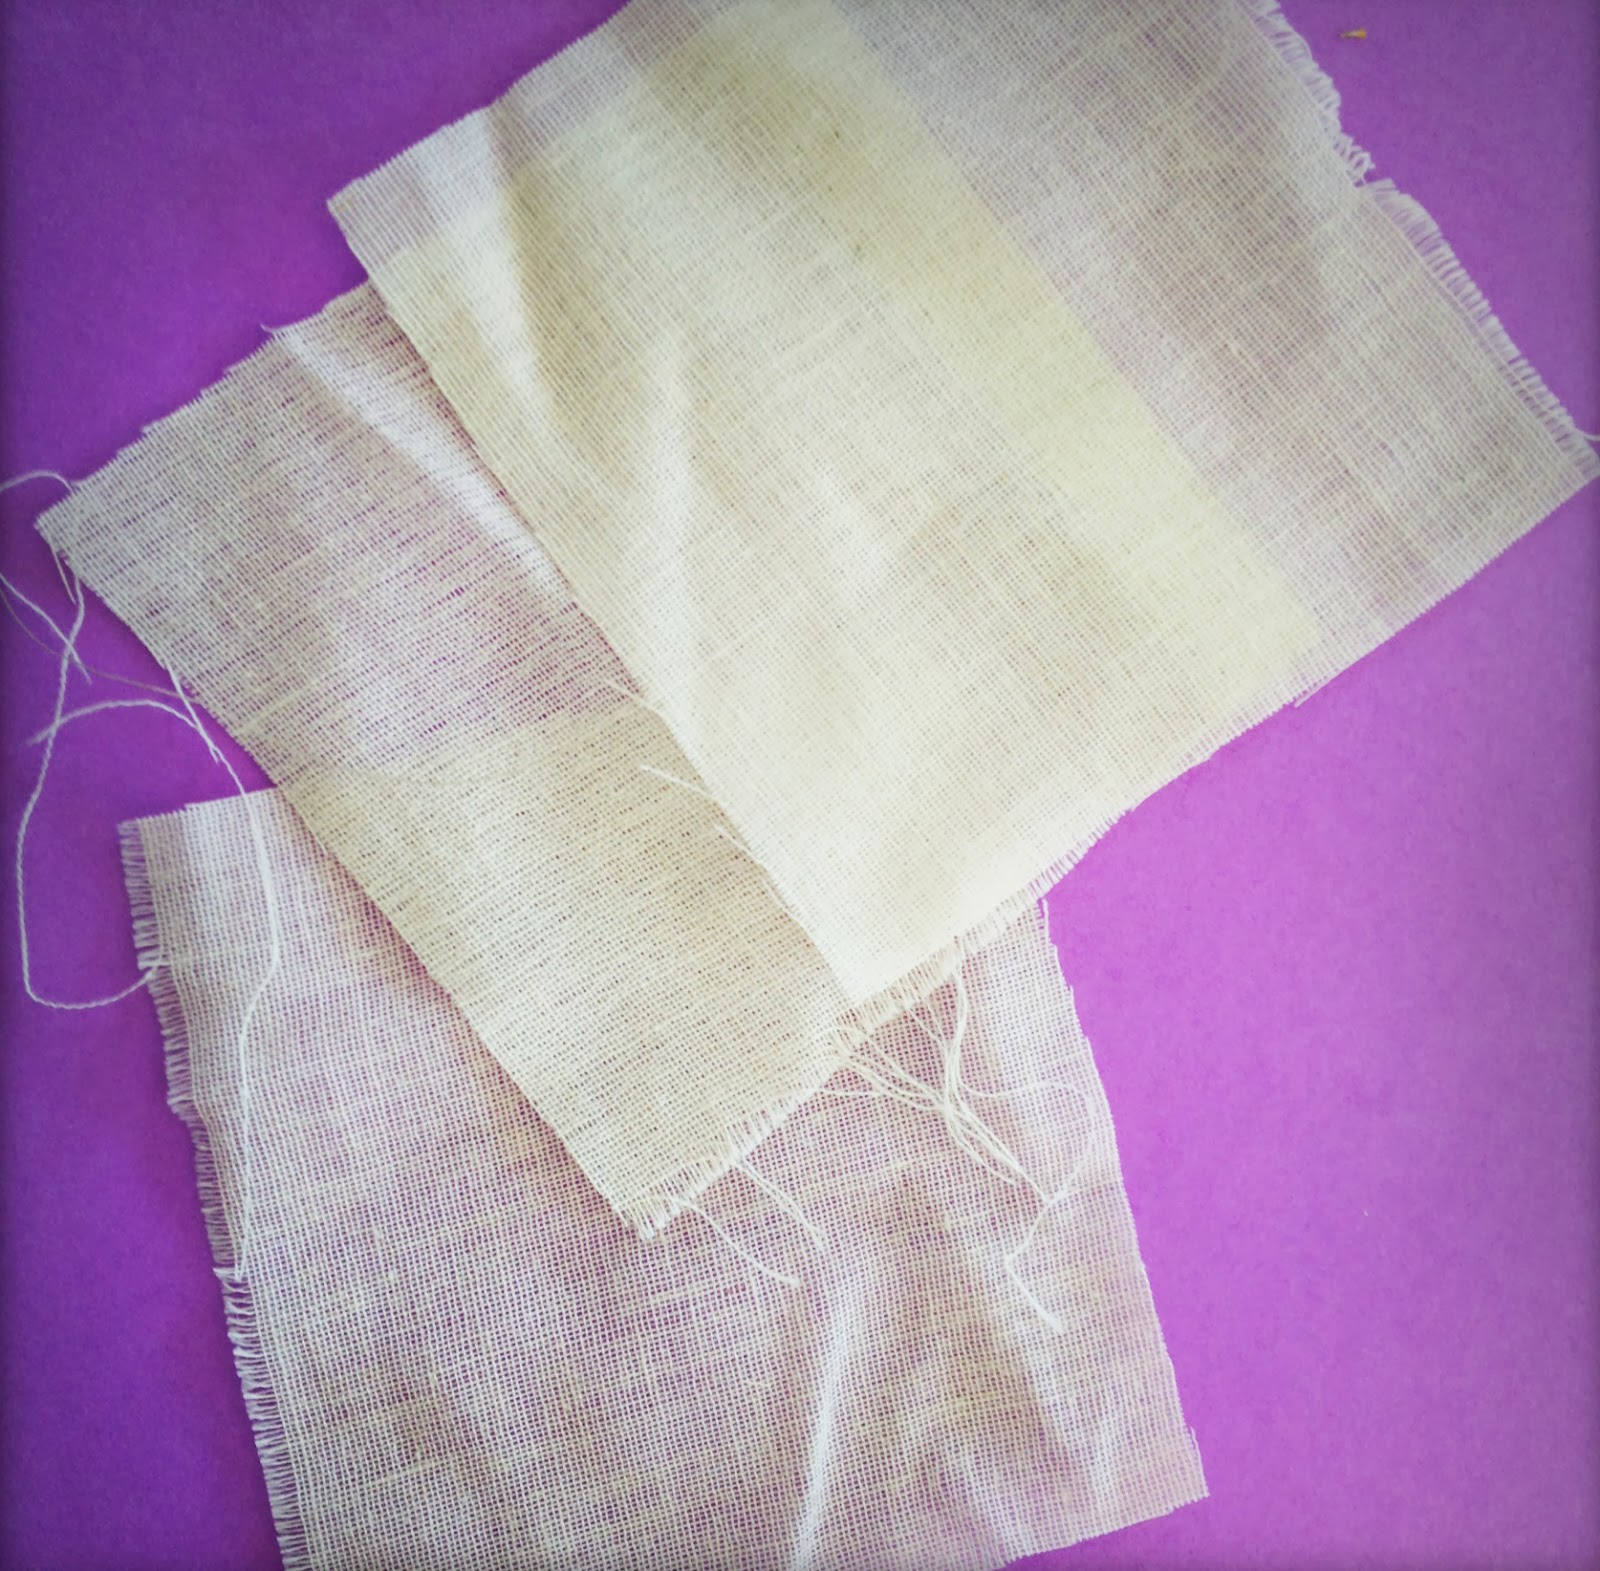
Using some lightweight and inexpensive muslin from my fabric stash, I cut out a bunch of four inch squares of fabric. Notice how this muslin has a pretty loose weave, so it'll actually work for brewing tea (I hope). 
Fold each square in half, and sew along two of the three open sides, using small stitches. 
Turn the bag right side out, and fold the top edge inwards by about half an inch.
Crush up your herbs. For the chamomile, I just used the leaves and yellow flower heads, but left the stems and dried flower cones out.
Scoop the crushed up flowers into a piece of paper and carefully pour them into the bag. I used five or six flowers for each bag, which filled it about half way up. I wanted there to be room for the water to flow through the chamomile so I didn't overstuff them.
Now sew the bottom seam shut, and repeat until you have as many bags as you have room in your chosen container for. If you don't have a tin lying around, you could use a jam jar, as shown. Just find something to keep the air out of the container so the tea doesn't lose it's magical powers.
If you didn't remember to harvest your local chamomile flowers in June (that's a joke), you can still make some of these pretty and thoughtful gifts. There's no shame in grabbing some fresh mint or lemon balm at the grocery store, which you can dry at home for a few days and add to these little bags. A slight cheat: buy a couple of varieties of herbal tea, make your own blend (right now I'm loving cinnamon and fennel) and repackage them in cloth bags. Cheesecloth is also muslin, by the way, and about the right weave for this project. Don't forget to hop onto your computer and whip up some pretty labels to stick on your jars. And if you'd rather just bookmark this idea for next year, think about planting some of the herbs found in this link so you can plan ahead.

Tuesday, December 3, 2013

Handmade Holiday Gifts for Kids: Making Meditation Cushions

It was tricky thinking of something I could make my kids for Christmas this year. If I'm honest I have to admit that what they're really into right now are action figures and instruments of war. They're peace loving souls on the inside, but they're also little boys. In the interest of fostering the peaceful soul aspect, I decided to make them each their own meditation cushions. If that sounds an unreasonable and mean thing to give a kid who loves his Teenage Mutant Ninja Turtles, just stay with me for a second. 

Last July, we spent two weeks in France at a buddhist family camp. While most of our time there was spent chilling out, swimming, walking and getting to know other families, there was plenty of time, too, for sitting. In the mornings after breakfast the families gathered together and engaged in some fun and playful mindfulness exercises, then the adults had a couple of hours to sit, with instruction, while the kids played elsewhere.
Something must have rubbed off. I took this candid (I swear) photo of Michael a couple of months ago. I just found him sitting there in the hall, just sitting there! And once in a while, when we think to do it, we all gather in the living room in the morning to sit for a minute and ring the singing bowl. The practice is just to listen quietly to the sound of the bowl until it goes silent, at which time you hold up your hand. When everyone's hand is up, the practice is over. Its not intense or perfect, but its a practice of sorts.

Anyhow, back to the meditation cushions. I made these envelope cushion covers for 16"x16" square pillows. I used linen, silk and velvet, only because I happened to have these materials in my fabric stash. You can use whatever materials you like. These cushions don't offer a lot of support for longer sitting (get a stiff, foam filled meditation cushion if you're in the market), but the kids don't sit for very long so they're fine for now. Here are the instructions for how I made them.
What you'll need:
1 12"x12" square of fabric for the front center (I used linen)
2 strips of fabric cut to 3.5" x 17" in one color (I used linen)
2 strips of fabric cut to 3.5" x 17" in coordinating color (I used silk)
1 piece of silk (or fabric of your choice) cut to 14"x17"
1 piece of silk (or fabric of your choice) cut to 8"x17"
Straight pins
Ruler or tape measure
Hot iron
Sewing machine
Coordinating thread

To begin:
1. Pin the first pair of long strips into place. With your center piece face up, line first strip along the top edge (right sides facing) of the square, making sure that the overhang on each side is 2.5" long. Pin into place, repeat for bottom strip. Sew both strips on using a 1/4" seam allowance.
2. Flip the sewn piece over and iron open the seams. Iron all the way along the edge of the strip, including the overhanging pieces. 
Flip your piece back over (right side up). It should look like this. 
3. Repeat step one above, pinning and sewing the second set of long strips along the edges of the linen square. Be sure that you're pinning to the front side, right sides facing, edges lined up as in the photo above. Sew all along the strips, including the overhanging pieces which will match up in length when sewn together. 
4. Repeat step two above, ironing all seam allowances and making sure the back side of your cover is nice and flat. Your finished front cover will look like the photo above. (Note that in this photo an extra purple strip has appeared. This is because I measured my strips incorrectly the first time around and needed to add some extra width to my border. Stick to the measurements I provide above and you shouldn't have that problem!)
5. Hem the edges of the back cover pieces. Fold the shorter edge (i.e. the 8" long side of the 8"x17" piece) over by 1/4", iron and fold again. Pin into place and edge stitch. Repeat for the 14" long side of the second piece.
6. Now pin those pieces, front sides facing, onto the front piece of your cover. Place the long side down first, then the shorter piece on top, as in the photo above. Pin all around the outside edge and sew the whole thing shut using a 3/8" seam allowance.  
7. Turn the whole thing inside out, using a chopstick or similar to turn your corner points all the way out. Iron the whole thing, and insert your cushion. 
And you're done. Next week the kids break up from school for the term, so I'm glad these are finished. Now that they'll be home a lot, I'll have some helpers around to assist me in gift making projects for my extended family. Look out for lots of apothecary inspired gifts coming down the pike here soon.