Wednesday, December 14, 2011
The Twelve Days of Christmas Crafts: Day 3: Fabric Nesting Baskets
In just a couple of days Jake will be finished with school until 2012. Dang.
That leaves me very little time to make some nice gifts for his teachers, both of whom I love, love, love. I'm thinking about doing some baking for them, and I decided this year to put the cookies, or brownies or whatever I wind up making, into these sweet and very easy to make nesting buckets. Unfortunately I can't offer a tutorial for making them because, as much as I want you to think I just figured out how to whip 'em up on my own, I actually used a pattern. You can find it on Etsy here for a mere nine bucks. The instructions are for four different sizes. Here is the small inside of the large (extra small and medium not shown). Since I used regular fabric for the outside of my buckets (rather than the burlap from used coffee bean bags that Maya, who wrote the pattern, calls for), I found that cotton batting doesn't really give enough support to the large sized bag; its a little droopy. So for subsequent bags I'll use a stiff, iron on interfacing instead.
The small bag has been coming in handy as a great place to stash my sewing staples, so I might keep this one for myself. I have some other ideas for what I might put into these baskets for gifting. To see what they are keep visiting through Christmas eve.
Tuesday, December 13, 2011
Twelve Days of Christmas Crafts: Day 2, Easy Upcyled Crayons
Look familiar?
I've been meaning to do something about our unwieldy stash of crayons for some time. Now that the holidays are upon me, and I've been needing some gift ideas for a few of the littler people in my life, it seemed like a good time to spruce up our supply of crayons, and pass some of them along to friends.
First the kids helped me to sort the crayons into color families, and tear off the labels. We put them into plastic tubs, then the kids got bored and ran away from the table to pretend to go shoot each other, which for them was much more interesting that day than making crayons was.
Next I dug out some molds. The penguin ice cube trays you see above were pretty good, as were the flower molds I had left over from Charlie's birthday party when we made chocolate lollipops. The former are silicon and can go into the oven, the latter are thin plastic and cannot. You can choose molds of pretty much any shape, as long as you keep in mind a couple of things. First, think about shapes that will produce a crayon that is comfortable for little hands (or whichever size hands your crayon recipient has) to hold. Second, choose molds that are fairly simply shaped, so that when you attempt to pop out the crayon it doesn't break apart into lots of useless bits. Similarly, it needs to withstand the pressure of coloring without breaking into many useless bits. Hence our attempts at making crayons from these cool robot ice cube molds was a total bust.
For the molds that cannot withstand the heat of the oven, I put broken up bits of crayon in the microwave for a couple of minutes. I won't suggest times or settings because our microwave is so tiny and meek that it took five minutes on high power to melt about 10 broken crayons in a jar. I think a normal microwave would take about 2 minutes to do the same job, but who knows.
Using an oven mitt to remove the very hot glass jar from the microwave, I then just poured the melted wax into the molds and let them cool in the refrigerator. The downside of the melt and pour technique is that regardless of how many different shades of a crayon you melt, the color will blend and you won't get any of that swirly effect you can achieve when you melt in molds in the oven. Our robots looked very cool (before they fell apart coming out of the molds) because you could see the various shades of pink we used, and they would've colored in a cool, variegated way.
So here are a few of the solid colored crayons we wound up with:
Once you've melted and poured and cooled, you are done. Now you need to come up with some simple packaging. I opted for plain muslin wrap. I'm giving this batch of crayons to Michael's friend Leela. Usually they have play dates in the grocery store where her mom and I shop together (its more fun than it sounds), but sometimes they might want to color together.
Along with the crayons I'm giving her a little coloring book that my friend Karina makes and sells in her Etsy shop Windows of Agate. Check it out, she's got lots of adorable baby and kid gifts. You can also gift the crayons with a little Moleskin notebook (my kids each have their own to draw in-its kind of nice to get to draw on decent paper once in a while, even if you're only four), or a bunch of cut up scrap paper wrapped in a ribbon, or whatever else you can think of.
Monday, December 12, 2011
The Twelve Days of Christmas Crafts
Frequently I suffer from delusions of grandeur. Most recently, for instance, I imagined making a virtual advent calendar here on this blog, where I would post about making a different holiday craft for each day of December.
HAHAHAHAHAHAHAHAHAHA. Oh well.
The photo above, taken while we were decorating our tree a few nights ago, is meant to be a deeply artistic and symbolic image representing the rush of time, the whirlwind, if you will, that we experience around the holiday season. Also, I still haven't quite worked out how to take a decent photo in low light. But I've been crafting, Jerry. Oh, how I've been crafting. So for me this year the stress of the holidays has been totally self-imposed, and is mostly to do with wanting to make SO much stuff, and having so little time to do it. So while I've had to 86 the advent calendar thing, I'm not giving up completely. I'm cutting my expectations almost exactly in half, and will instead post a holiday craft a day for the next 12 days.
Spoiler alert: If you're one of my kids's teachers, or one of my sisters, or my grandmother, or one of my friends, or one of my friend's young children, or think you might someday be any of these people, you might find out what you're getting for Christmas early.
For Christmas one year, when I was six or seven years old, my dad (more likely my dad's girlfriend at the time), got me this book:
And oh, how I loved it. And still love it. I have schlepped this baby around with me for over 30 years, and I take it out every now and then to revisit some of my favorite crafts from childhood and do them again with my kids. The center top photo of the picture frame on this book's cover is a project made out of simple salt dough, which lots of people use for making Christmas ornaments. I loved this craft when I was little because the house I grew up in didn't actually have a stocked craft cabinet full of fancy watercolor pencils and tissue paper and hole punchers, like some spoiled people's kids I know. (Yes, I'm talking to you, my children.) But we always had flour and water and salt lying around. This is a great craft for families with very young children (like mine), who don't yet have the fine motor skills to make more complicated crafts. Even little hands can pitch in to help roll the dough, cut out shapes, and throw huge fists full of glitter all over the kitchen. I mean, decorate ornaments with glitter and glue.
To make salt dough:
Mix about a cup of salt into two cups of flour
Mix about 1/2 to 3/4 a cup of hot water into the dry ingredients, and knead it all together til you've got a good, smooth consistency.
Roll out your dough with a rolling pin, and cut out your shapes with cookie cutters. Don't forget to punch a hole in the top of the ornaments so that you can string it up for hanging later. I use a chopstick to do this. If your hole is too small it'll shrink a bit in the oven and be rendered useless.
Put your shapes onto a cookie sheet and dry them in the oven at 200 degrees for about 20-25 minutes, or until dry. Don't turn the oven higher than than or you'll ornaments will turn brown (which probably won't matter anyway if you glob on as much paint and glitter as my kids do).
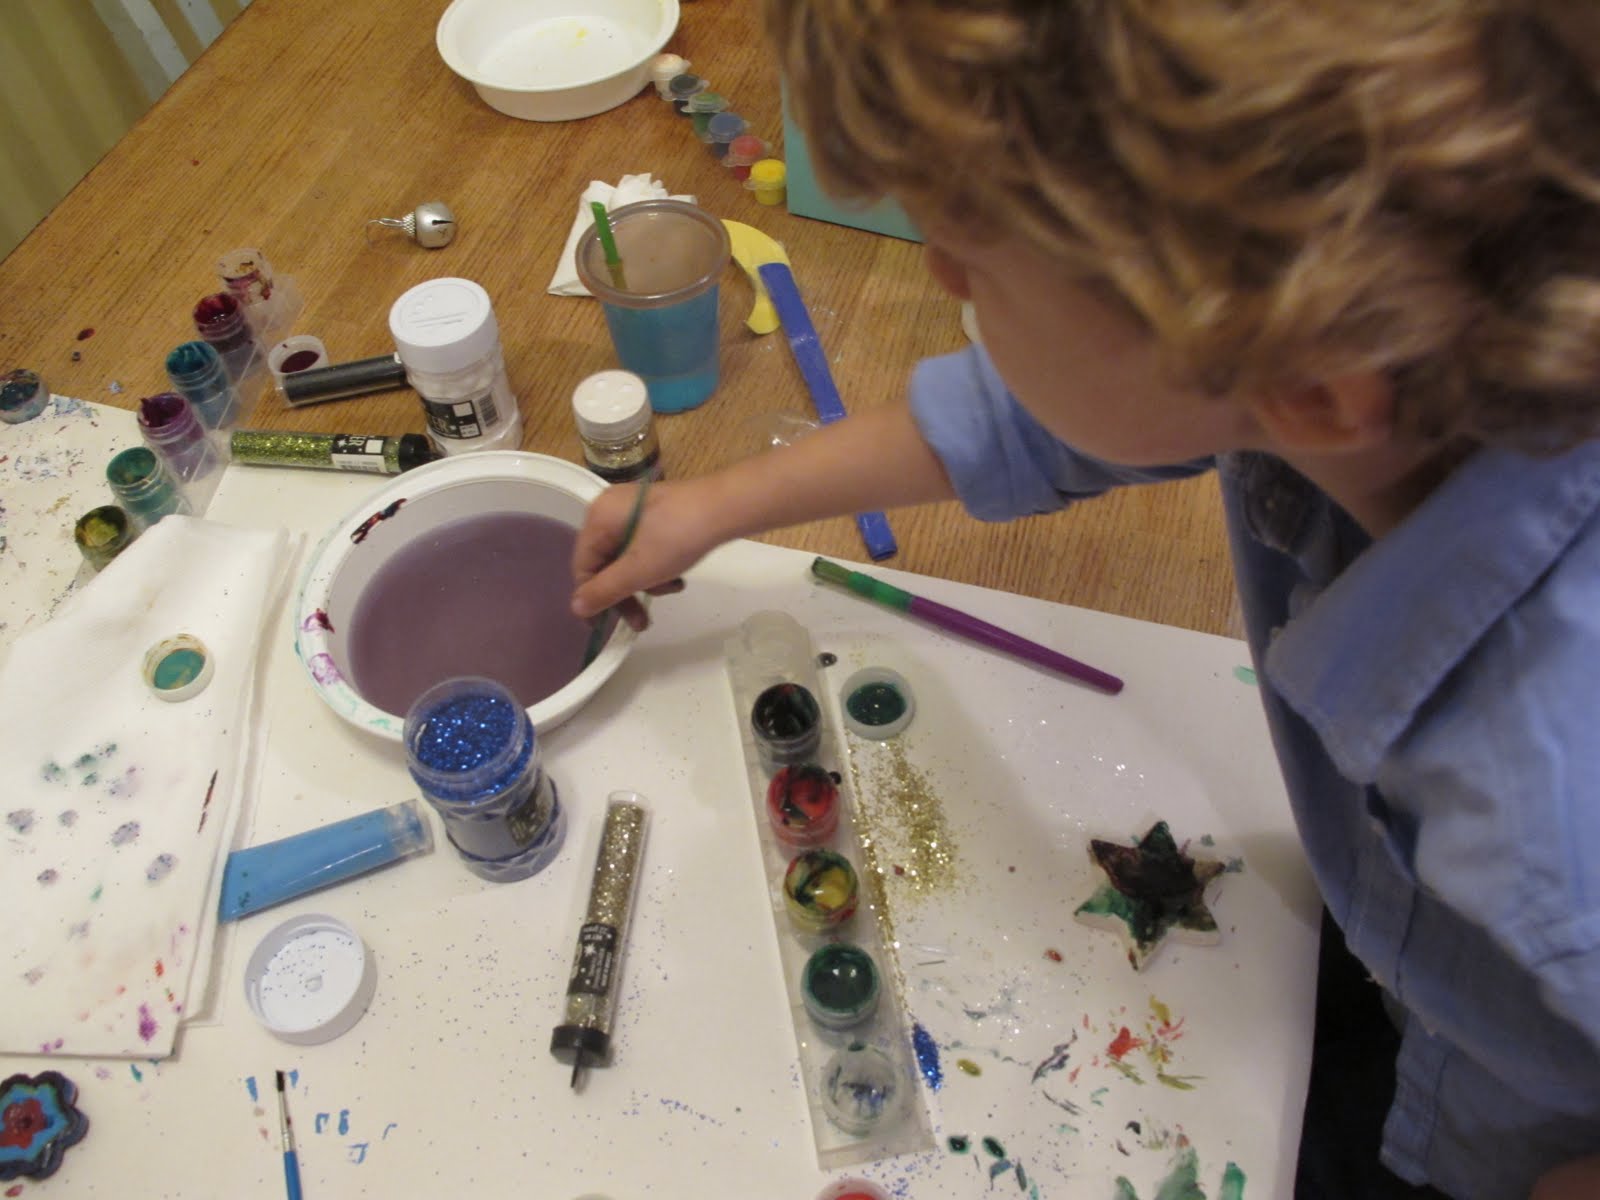
When they're dry they're ready to decorate as you wish. There are endless ways in which to do this, which you can choose to some extent based on the capabilities of your kids. Older kids can decoupage or try dipping into encaustic/wax, for instance. My kids are pretty happy right now with poster paints and glitter.
We've been making lots of different kinds of ornaments for our tree this year, as my goal is to phase out most of the store bought ones and eventually have an entirely handmade tree. I say "most" rather than all store bought ornaments because some were gifts and have sentimental value, and because I'll never learn how to make my own lights. But a lot of our ornaments are pretty cheap dollar store bulbs and the like, which I got so I wouldn't have to worry about my kids trashing them. Which they do. Frequently.
Keep visiting between now and Christmas eve to see many more handmade craft ideas. I'll even throw in a Chanukah craft that's good for kids and would make a great gift. I'll leave you with one of my all time favorite Christmas songs. Not a classic, exactly, but still catchy after all these years.
Wednesday, November 16, 2011
Crafting a Fond Farewell
Goodbye, Leverett.
Recently we had the good/bad fortune of selling our country home in Massachusetts. We were lucky, in this economy, to find buyers willing to take on a two hundred plus year old farm house that still needs a lot of TLC to realize its full potential. But its been hard to say goodbye. The boys especially will miss this place; the place where we could open the door and just let them out. Before leaving for the last time, Henry suggested we make a time capsule to bury on the property and come back for some indeterminate number of years down the road. Jake wrote a lovely letter listing the reasons why he loves it here, and the boys collected a lot of, well, rocks.
Here are the kids digging the hole for the time capsule.
Over time the kids have also collected abandoned birds nests, feathers (turkeys, guinea fowl, owls), defunct hornets' nests, and other natural ephemera. But how, really, can we capture in tangible ways the depth and breadth of our experiences here as a family? In this place we've celebrated many holidays, many birthdays, had family gatherings big and small, had one child christened, spent many lazy August afternoons, and have enjoyed countless weekends of simple, unstructured downtime, both with friends and on our own.
We can't put memories into a time capsule, so I'll say goodbye to all that, then, with a very brief, very incomplete, list of the things we'll miss most about Massachusetts.
Goodbye, house.
Goodbye, pond, where we watched the beavers work their magic, where we once saw and moose and her calf cross the water, and where Jake caught his first (and only) fish.
Goodbye, stone wall, and the many mysterious universes within you.
Goodbye, treehouse, wonky and with the odd nail sticking out, built with love by Jake and Henry.
Goodbye morning walks to the Co-op, with many stops along the way to walk across a log, play on the big rock, or jump in the odd pile of dirt.
Goodbye to the Village Co-Op, where we'd catch up with neighbors, spin the kids on the roundabout, sit for a moment of quiet meditation, and pick up our basic provisions.
Goodbye, Lake Wyola, which on the odd October weekend, we could have almost entirely to ourselves.
Goodbye, too, to friends and neighbors we've had the pleasure of knowing, to the porcupine who appeared on the lawn every evening like clockwork, to the woods and their many mysteries and to the orchard where we picked our apples every fall. Goodbye to the Peace Pagoda, the local school playground, the dam that Henry and Jake built and the many clanging wind chimes left before us by previous owners. Goodbye to the barn, goodbye to the flocks of wild turkeys, goodbye to the fox in the white, white snow. Goodbye to autumn afternoons that took our breath away, to winter icicles three feet long, to the black flies in spring, to summer's long and languid days. Goodbye to ten years of experiences in a place that almost certainly had magic in the water. Goodbye, Leverett. We'll miss you.
Subscribe to:
Posts (Atom)